픽시브 짤 다운로더
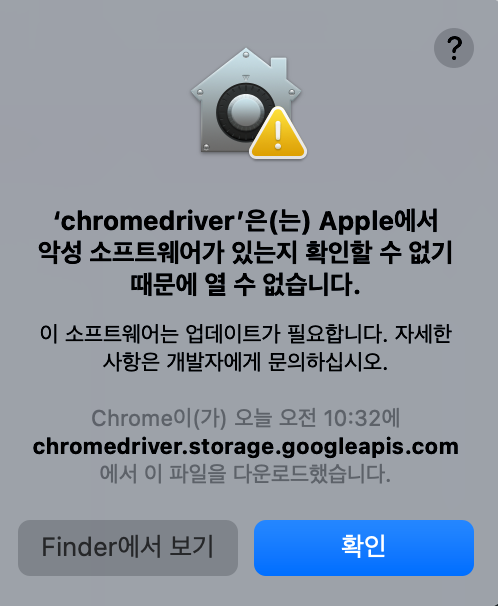
referer 헤더의 벽을 넘지 못하고 픽시브 짤 다운로더로 노선을 변경했다.
그래도 이미지 url 을 이용해서 다운로드 하니까 이전에 했던게 헛된건 아니라고 할 수 있겠다.
기존의 이미지 url 긁어오는 로직에서 다운로드 정도만 추가했다.
대략적인 과정은 아래와 같다.
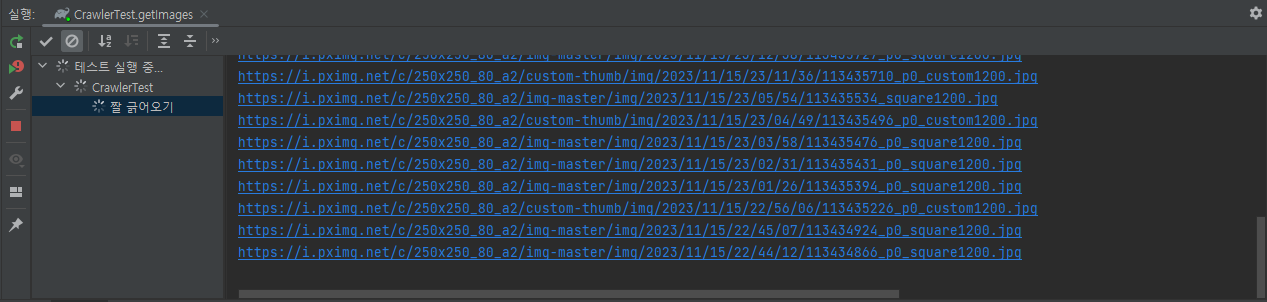
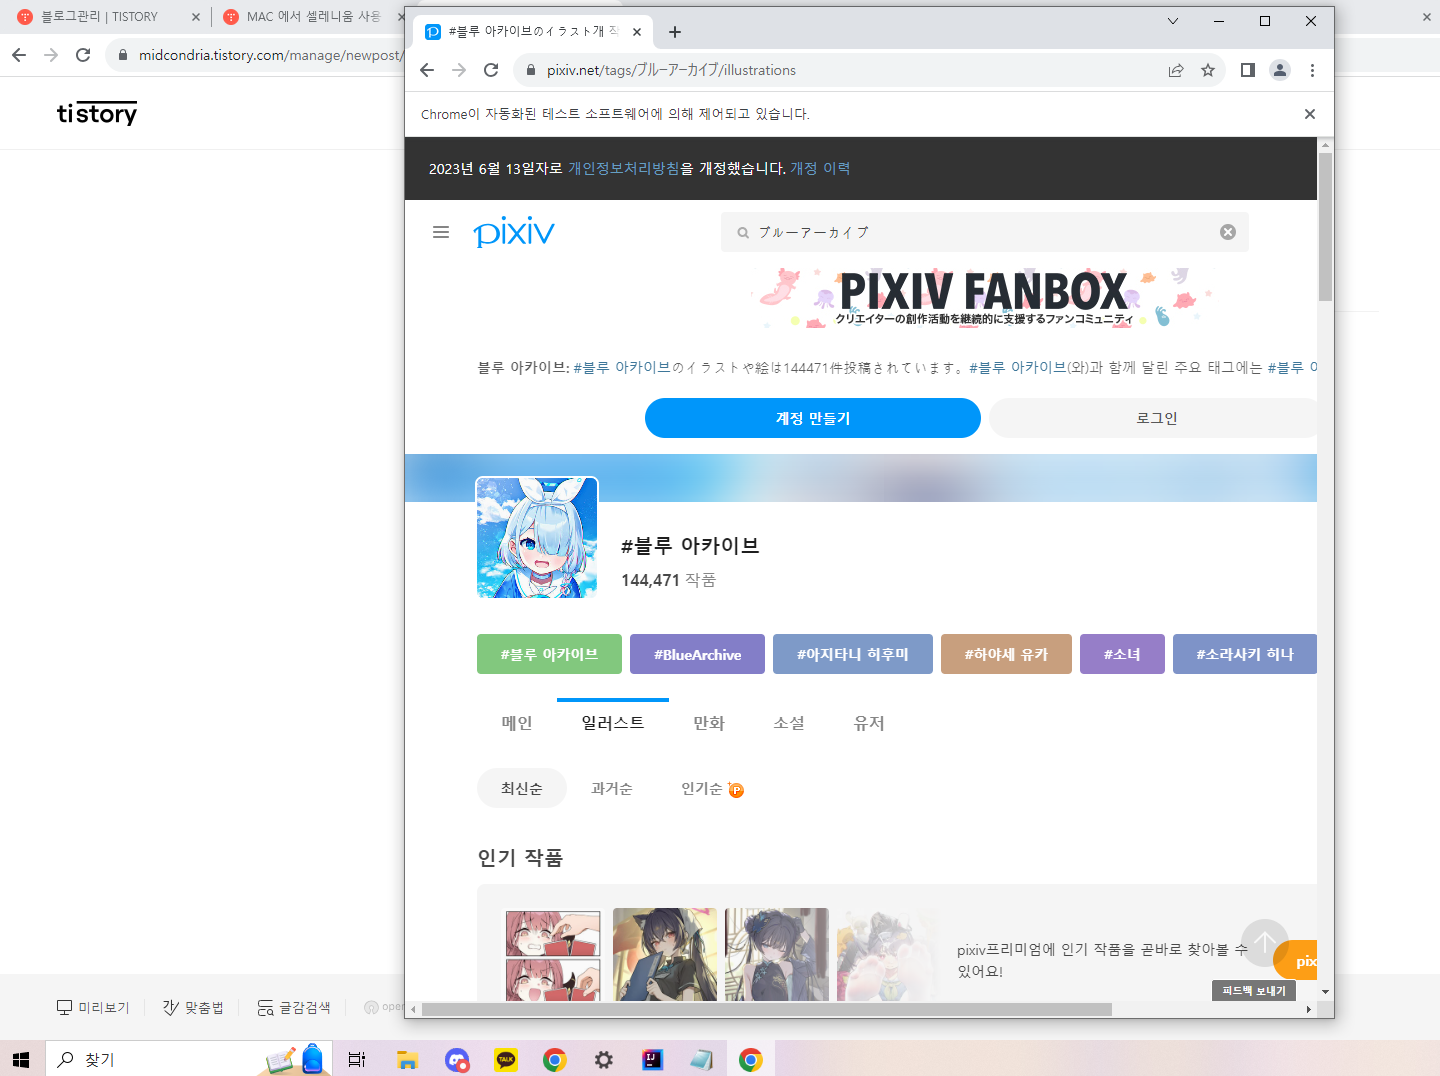
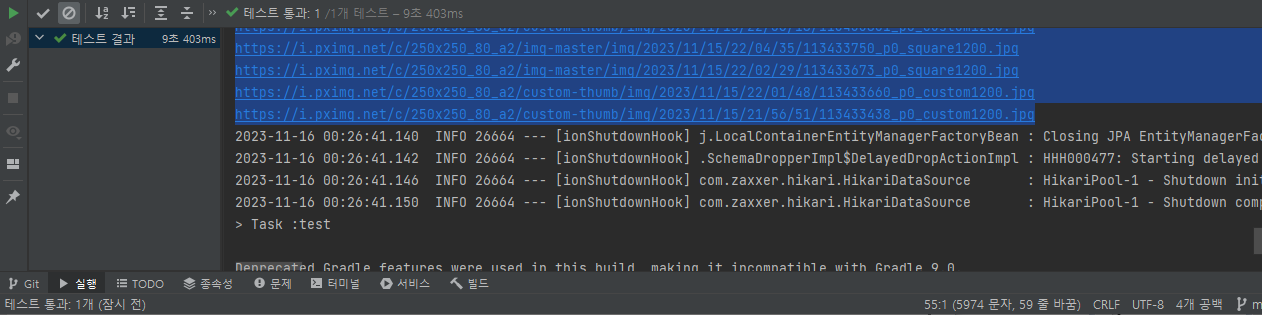
- 셀레니움을 이용하여 이미지 url을 크롤링 한다.
- 크롤링해온 이미지 url 을 이용하여 referer 헤더 설정 후 이미지 다운로드 한다.
- 픽시브 몰루 일러스트 탭의 1페이지 60장을 저장한다.
- 저장한 이미지 파일 이름을 리턴 값으로 반환한다.
- 이미지 저장은 try with resources 를 이용하므로 따로 스트림을 닫을 필요는 없다.
CrawlingService
테스트는 이미지 url 만 긁어오는것과 거의 달라진게 없으므로 따로 올리지는 않겠다.
이미지 다운로드 경로는 src/main/resources/static/download 로 했다.
@RequiredArgsConstructor
@Service
public class CrawlingService {

    // 짤 크롤링
    private static final String URL_ILLUSTRATION = "https://www.pixiv.net/tags/%E3%83%96%E3%83%AB%E3%83%BC%E3%82%A2%E3%83%BC%E3%82%AB%E3%82%A4%E3%83%96/illustrations";
    private static final String IMAGE_BOX_ILLUSTRATION = "#root > div.charcoal-token > div > div:nth-child(4) > div > div > div.sc-15n9ncy-0.jORshO > section > div.sc-l7cibp-0.juyBTC > div:nth-child(1) > ul > li";
    private static final String DOWNLOAD_PATH = "src/main/resources/static/download/";


    public List<String> downloadImages() {
        ChromeDriver driver = SeleniumConfig.chromeDriver();
        driver.get(URL_ILLUSTRATION);

        autoScroll(driver);

        List<WebElement> imageBox = driver.findElements(By.cssSelector(IMAGE_BOX_ILLUSTRATION));
        List<String> images = imageBox.stream()
                .map(o -> o.findElement(By.cssSelector("img.sc-rp5asc-10.erYaF")).getAttribute("src"))
                .map(o -> {
                    String fileName = o.substring(o.lastIndexOf('/') + 1);
                    downloadImageWithReferer(o, DOWNLOAD_PATH + fileName);
                    return fileName;
                })
                .collect(Collectors.toList());

        driver.quit();
        return images;
    }

    private static void autoScroll(ChromeDriver driver) {
        Long height = (Long) driver.executeScript("return document.body.scrollHeight");
        Long scroll = 500l;
        while (scroll <= height) {
            driver.executeScript("window.scrollTo(0," + scroll + ")");
            scroll += 500l;
        }
    }

    private static void downloadImageWithReferer(String imageUrl, String destinationFile) {
        try {
            URL url = new URL(imageUrl);
            HttpURLConnection connection = (HttpURLConnection) url.openConnection();

            // Referer 헤더 설정
            connection.setRequestProperty("Referer", "https://www.pixiv.net/");

            File folder = new File(DOWNLOAD_PATH);
            if (!folder.exists()) {
                folder.mkdir();
            }
            try (InputStream in = connection.getInputStream();
                 FileOutputStream out = new FileOutputStream(destinationFile)) {
                byte[] buffer = new byte[1024];
                int bytesRead;
                while ((bytesRead = in.read(buffer, 0, 1024)) != -1) {
                    out.write(buffer, 0, bytesRead);
                }
            }
        } catch (IOException e) {
            e.printStackTrace();
        }
    }
}
다음 목표
다음 목표는 다운로드 받은 이미지를 렌더링하는 페이지 추가하는 것이다.
사실 이미지 다운로더로 노선 변경한것도 이미지 렌더링 페이지를 만들다가 난관에 봉착해서였다.
다시 원래 목표로 돌아가서 HTML, CSS, JS 도 써보면서 뭔가 보이는 페이지가 보이면 흥미도 더 붙고 좋을것 같다.
'픽시브 크롤링 해보기 > 기능구현' 카테고리의 다른 글
| [BE] 픽시브 짤 크롤러 난관에 봉착 (0) | 2023.11.27 |
|---|---|
| [BE] 셀레니움을 이용한 스크롤 자동화 (0) | 2023.11.26 |
| [BE] 픽시브 몰루 짤 크롤링 API (0) | 2023.11.24 |